Checking and Changing Engine Oil
Your car’s engine cannot run without oil, but like any other fluid, it deteriorates with use. As oil deteriorates it loses its ability to lubricate, clean, and regulate the temperature of your engine’s components. Regularly checking and changing your engine oil is vital to keeping your car in running order.
Why should you regularly change your engine oil?
Your car cannot function without engine oil. Engine oil lubricates, cleans, and protects internal parts from corrosion. It helps to regulate engine temperature. But, like all engine fluids, oil deteriorates over time, so regularly changing engine oil is essential to proper car maintenance.
Oil’s primary purpose is to lubricate your engine’s internal parts, thereby reducing the damaging effects of friction. It also helps to keep these parts clean. As it flows through the engine, engine oil picks up natural byproducts of friction and combustion, like metal particles and soot, as well as other contaminants like dust and fuel impurities. Engine oil also contains additives that help prevent corrosion and oxidation.
These additives degrade, while contaminants will gradually saturate the oil and reduce its lubricating qualities. As this happens, friction inevitably takes its toll on your engine’s performance, and thus its fuel economy. Old, dirty oil also causes hydrocarbons to build up in the engine’s crankcase, forming “sludge.” This sludge at the bottom of the engine decreases the flow of oil, which can lead to poorer protection or even overheating of the engine.
In many countries, the time interval between oil changes in road vehicles has increased considerably over the past 20 years. There are several consequences for oil quality:
– degradation by mechanical and thermal actions (like shearing and oxidation)
– loss of efficiency from increased viscosity and acidity (oxidation)
– increase in the content of impurities such as combustion soot, wearing metals, and external pollutants (like dust and water).
Changing your oil at regular intervals not only ensures that your engine runs properly, it saves you money on fuel and helps to reduce emissions.
What happens if you don’t change your engine oil?
Not changing your engine oil can have a wide range of consequences, from a voided warranty to severe engine damage. Many of these problems are potentially costly. All of them are completely avoidable if you change your oil.
Like all automotive fluids, engine oil gradually deteriorates. Viscosity breaks down, and it loses its lubricating qualities. An insufficiently lubricated engine risks overheating. This can lead to a variety of problems, like a blown head gasket, or warped engine parts. Both require expensive repairs, but these aren’t even the worst possible outcomes of not changing your engine oil: the engine could seize up. Seized engines cannot be repaired, only replaced. In short, the small cost of some regular maintenance could save you unnecessary expenses down the road.

Credit : scyther5
How often should you change your oil?
A number of factors will determine how often you should change your oil. Among them are:
- manufacturers’ recommendations
- the performance level of the oil (specifications)
- the driving style (flexible, fast, sporty)
- the type of route (for example, short journeys in urban areas cause the lubricant to dilute with a small part of the unburned fuel. This phenomenon degrades the lubricant, with a drop in viscosity in particular)
- external conditions:
- in hot climates, oil oxidation tends to increase
- in a dusty and / or humid atmosphere, the oil accumulates contaminants (like fine abrasive particles, or water)
- annual mileage: even in the case of low annual mileage (less than 10,000 km or about 6,000 miles), it is recommended that you drain the oil at least once a year.
The best practice is always to consult your owner’s manual.
Many later-model cars require synthetic or synthetic-blend oils, which allow for a longer interval between oil changes. Older models using conventional engine oil may require more frequent oil changes.
Your driving habits also play a part. If you regularly make short trips in stop-and-go traffic, if you tow or carry heavy loads, or if you drive in extremely hot, cold, or dusty conditions, you may need to change your oil more frequently.
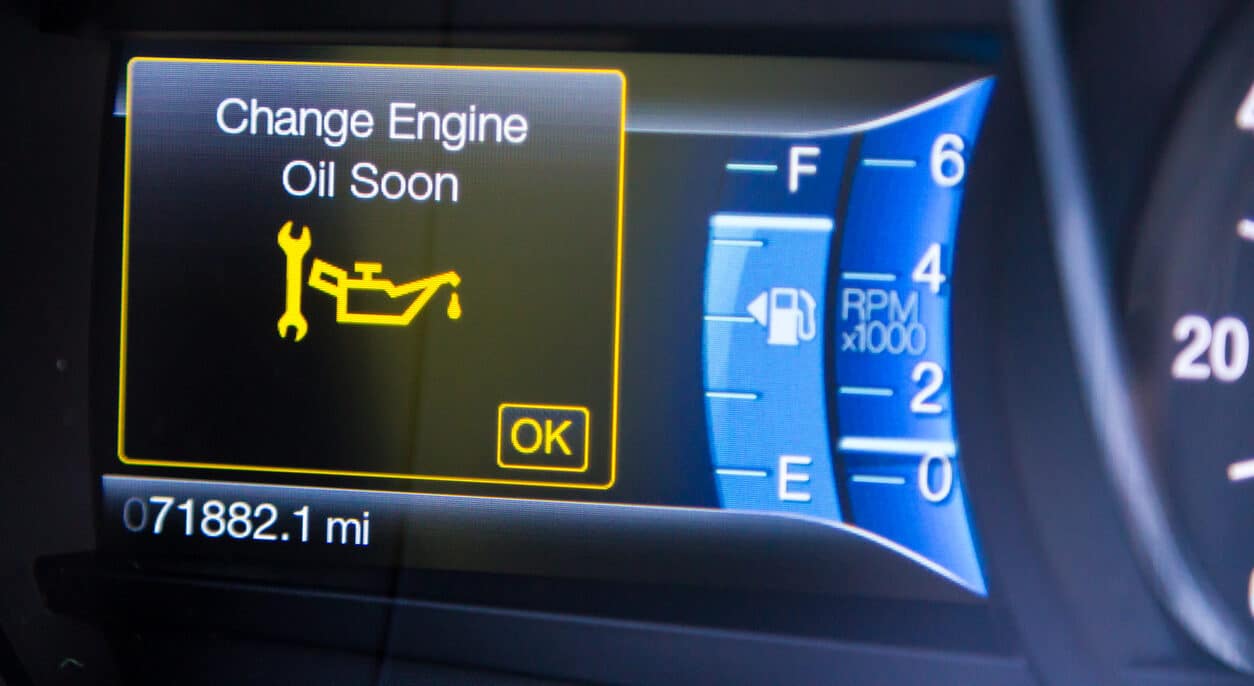
Many later-model cars feature sensors that monitor the life of your engine oil and automatically recommend when to change it. If you drive an older car, the owner’s manual likely suggests two different oil change intervals, one for typical driving conditions and one for severe conditions.
If your car is brand new, it’s important to follow the maintenance schedule to the letter. Otherwise, you risk voiding your warranty.
How much time should you go between oil changes?
For light vehicles, the oil change interval for 4-stroke engines can range from 5,000 to 30,000 km (about 3,000 to 19,000 miles) or even 50,000 km (about 31,000 miles), depending on the conditions of use.
Conventional wisdom once dictated that you change your engine oil roughly every 5,000km (about 3,000 miles). While this may remain true for older cars that still use conventional engine oils, most newer models using synthetics require an oil change closer to every 12,000km (about 7,000 miles).
The advent of synthetic oils has significantly widened the interval between oil changes. Some manufacturers recommend oil changes every 12,000 to 16,000km (about 7,000 to 10,000 miles). Others even suggest a change every 24,000km (about 15,000 miles). But if you are uneasy with the the idea of exceeding 16,000km (10,000 miles) before your next oil change, a good rule of thumb is to change it every six months – about as often as you should have your tires rotated.
Signs you need to change your oil
The “check oil” light on your dashboard is not the only indicator to change your engine oil. There are several other signs to watch for. These range from the oil’s texture to strange engine sounds, or even thick smoke coming out of your tailpipe.
The first thing to check is the oil itself. If it’s opaque and granular, it is saturated with contaminants and must be changed.
Pay attention to your car’s exhaust, too. In cold weather, it’s normal for the tailpipe to emit visible vapor, but excessive blue or grey smoke indicates an oil leak, often the result of old oil.
Listen for strange sounds. If your car makes a ticking sound when you start it, or if it rattles and shakes while idling, there is a good chance your engine oil has degraded.
Finally, smell your car’s interior. Odors of motor oil or gasoline often indicate that your engine is leaking oil or overheating. Both are signs that your engine oil is no longer performing properly.
How to check your engine oil

Credit : Antonio-BanderAS
It’s easy to check the engine oil on most makes and models of cars. The procedure is nearly universal, but as always, we advise consulting your owner’s manual first. Here are the basic steps:
Step 1: Park your car on level ground – this ensures an accurate reading. Turn off your engine, and allow it to cool for 10 to 15 minutes.
Step 2: Open the hood and locate the dipstick. It’s usually marked by a yellow or red tab, and is near the fill cap.
Step 3: Remove the dipstick and examine the oil’s color and texture. If it is a clear amber color and clings to the dipstick, it’s in good condition. If it is black, opaque, milky, runny, or gritty, it’s time for a change.
Step 4: Using a paper towel or lint-free rag, wipe the dipstick clean, reinsert it for a few seconds, and remove it once more. This time, check the oil level. Indicator marks on the bottom of the dipstick will tell you if your oil level is too low, too high, or just right.
Step 5: Wipe the dipstick clean and reinsert it. If your engine is low on oil, open the fill cap and add more in small amounts, checking the dipstick until the oil is at the correct level. Replace the fill cap and close the hood.
How often should you check your engine oil?
Checking your engine oil is how you monitor its quality and quantity. These are wider indicators of your car’s overall health. It is therefore good practice to check it at least once a month. Every couple of weeks is even better. In the long run, these simple steps will save you lots of money in repair costs.
How to change your engine oil

Credit : Ensup
Provided you have the proper equipment, changing your own engine oil is a relatively quick and easy task. Before getting started, make sure you have the following:
- Oil (see your owner’s manual proper type and amount)
- Oil filter
- Replacement washer for the drain plug
- Jack and jack stands (or ramps), and wheel blocks.
- Wrench (box end or socket)
- Oil filter wrench
- Oil drain pan
- Latex gloves (optional)
Step 1: Park the car on level ground, remove the keys from the ignition, apply the parking brake, and allow the car to cool down for 10-15 minutes.
Step 2: Locate the jack point underneath the front end of the undercarriage (refer to your owner’s manual, if you are unable to find it). Raise the car to a clearance of roughly 46cm. Place the jack stands underneath the undercarriage on both sides of the car. If you are using ramps, line them up with the front wheels of your car and carefully drive the car up onto them. Then secure the rear wheels with wheel blocks. Push down on the hood a few times to make sure the car is secure.
Step 3: Open the hood and remove the oil fill cap. Place the drain pan underneath the oil reservoir. Using a wrench, unscrew the drain plug, remove the accompanying washer and allow the oil to drain out completely (about 2-3 minutes). Put the washer back in place, and carefully screw the drain plug back in to the reservoir.
Step 4: Locate the oil filter under the hood. Twist it off counterclockwise by hand or with the oil filter wrench. Before installing the new oil filter, be sure to smear a small amount of oil on the filter’s gasket with your finger. Gently screw it on clockwise.
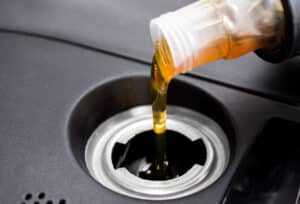
Step 5: Pour the new oil into the fill hole under the hood. Replace the fill cap.
Step 6: Start the engine. If the oil pressure light on your dashboard is illuminated, you could have leaks. Inspect underneath the car for leaks. They’ll most likely come from the drain plug or the oil filter. If you see any leaks, shut off the engine. Let it cool for 10 minutes, and tighten where necessary.
Step 7: Check the oil level with the dipstick. Add more as needed. Replace the fill cap and close the hood. Remove the jack stands, lower the car, and remove the wheel blocks. Be sure to dispose of used engine oil properly – don’t just put it out with your trash. Many auto parts stores and some service stations will take used motor oil and oil filters for recycling.

